How to Build a Home Gym Without Drilling Into Your Walls
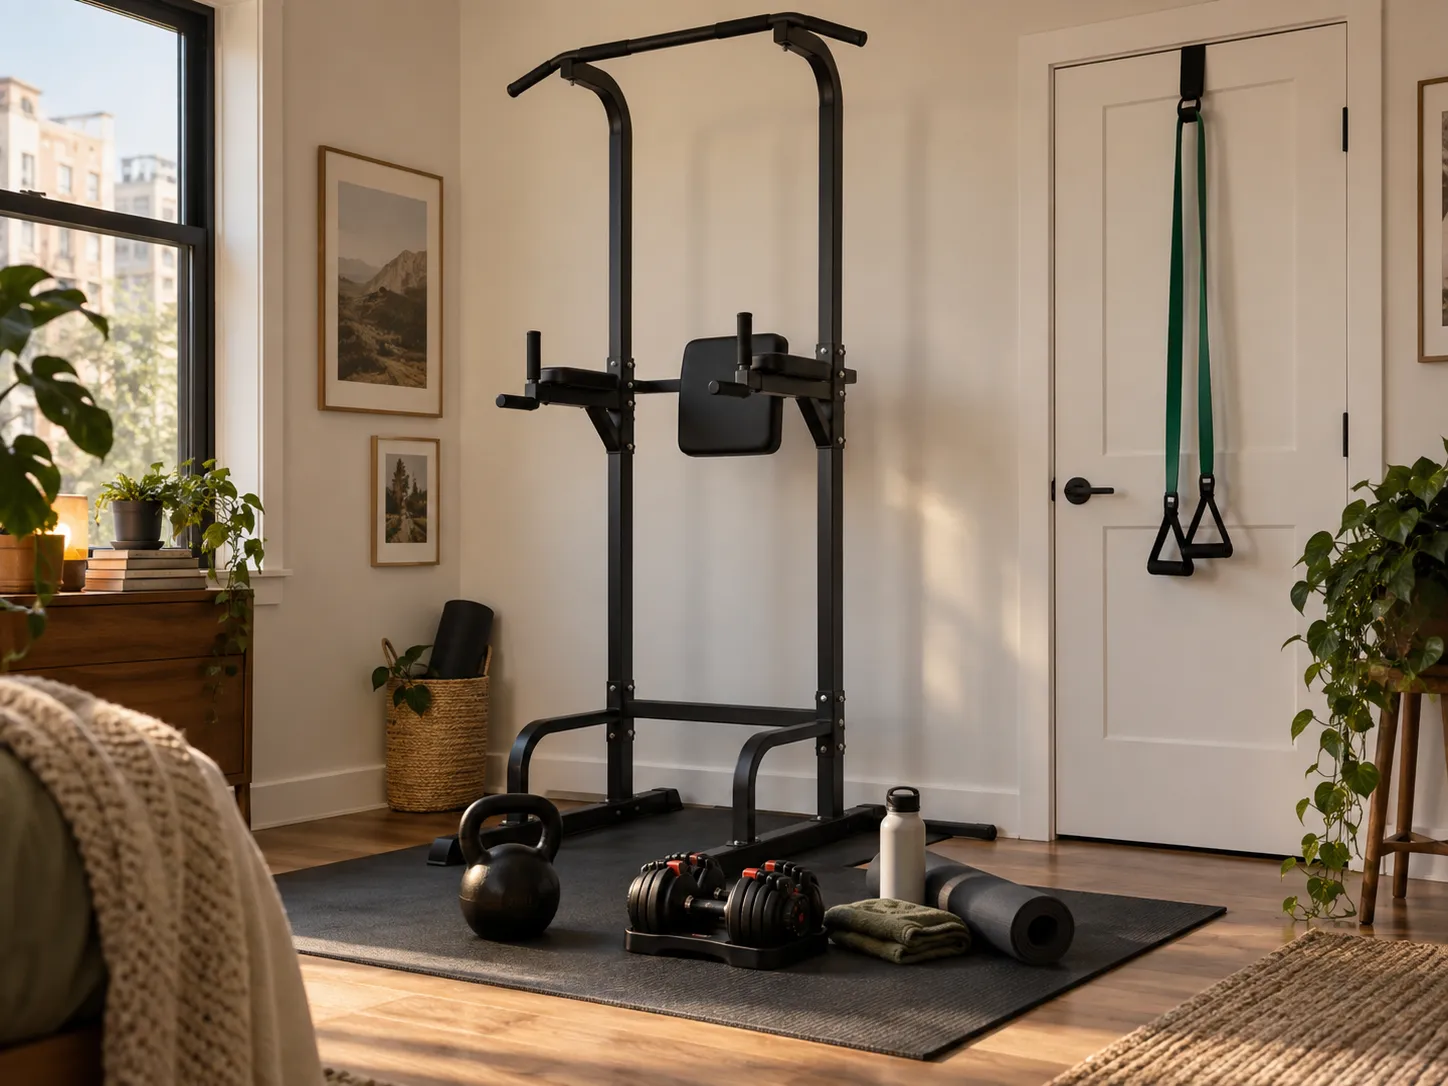
A rented wall isn't yours to change. This is how to build a serious training setup without drilling a single hole — and reduce the risk of damage as much as a rental practically allows.
The Renter's Constraint
Most home gym advice assumes you own the place.
Mount the rack here, anchor the bar there, put a few holes in the wall and never think about it again. If you rent, none of that is free. Every hole is a conversation with a landlord you’d rather not have, a line item against a deposit you’d rather keep, and sometimes a clause in a lease you signed without much choice. The wall is right there, and it may as well belong to someone else — because it does.
So the constraint isn’t “can I train at home.” It’s “can I train at home without leaving a mark I’ll pay for later.” The honest answer is yes, mostly — if you stop thinking about the wall as an anchor point and start thinking about the door, the floor, and the equipment that needs nothing but its own weight to stay put. You won’t get the bolted-down permanence of an owned setup. You will get something you can build today, use seriously, and take apart the day you move — which, for a renter, is the version that actually matters.
If you’re working within tight square footage as well, our first guide, 7 Pieces of Home Gym Equipment That Actually Fit in a Small Apartment, covers the space side of the same problem.
What "No-Drill" Actually Means
Here's where the marketing gets slippery.
“No-drill” gets printed on a lot of packaging, and it doesn’t always mean what a renter needs it to mean. No holes is not the same as no damage.
A tension-mounted bar wedged between two walls leaves no holes — until the pressure dents the paint or the surface gives. An adhesive anchor drills nothing — and can pull paint or plaster off when it comes down. A door-frame bar hangs on nothing permanent — and still puts real load onto a frame that may or may not be built for it. None of these are automatically wrong, but “no-drill” alone doesn’t tell you whether something is genuinely removable, or just damaging in a different way.
So the more useful test isn’t “does it drill.” It’s: can this come off cleanly, what does it press or pull against while it’s up, and is the surface it relies on actually built to take that? Ask those three questions and most of the more renter-suitable options sort themselves into three groups — the ones this guide is built around.
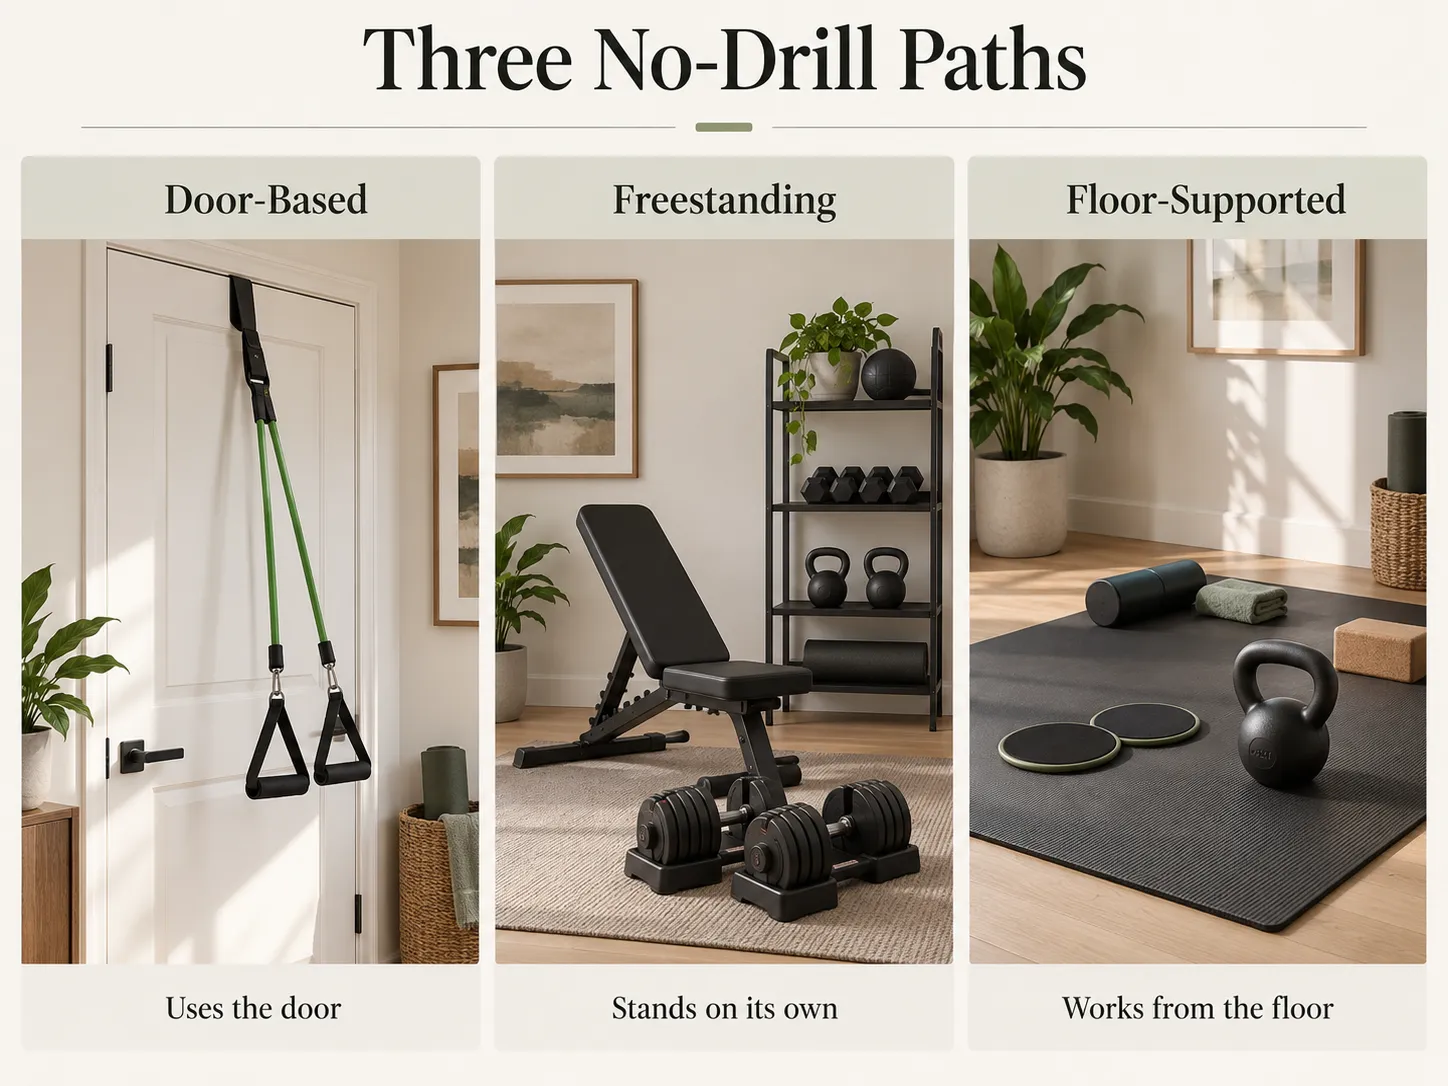
Three Ways to Build Without Drilling
Rather than a product list, think in terms of what the equipment leans on. Everything renter-suitable leans on one of three things: a door, its own weight, or the floor.
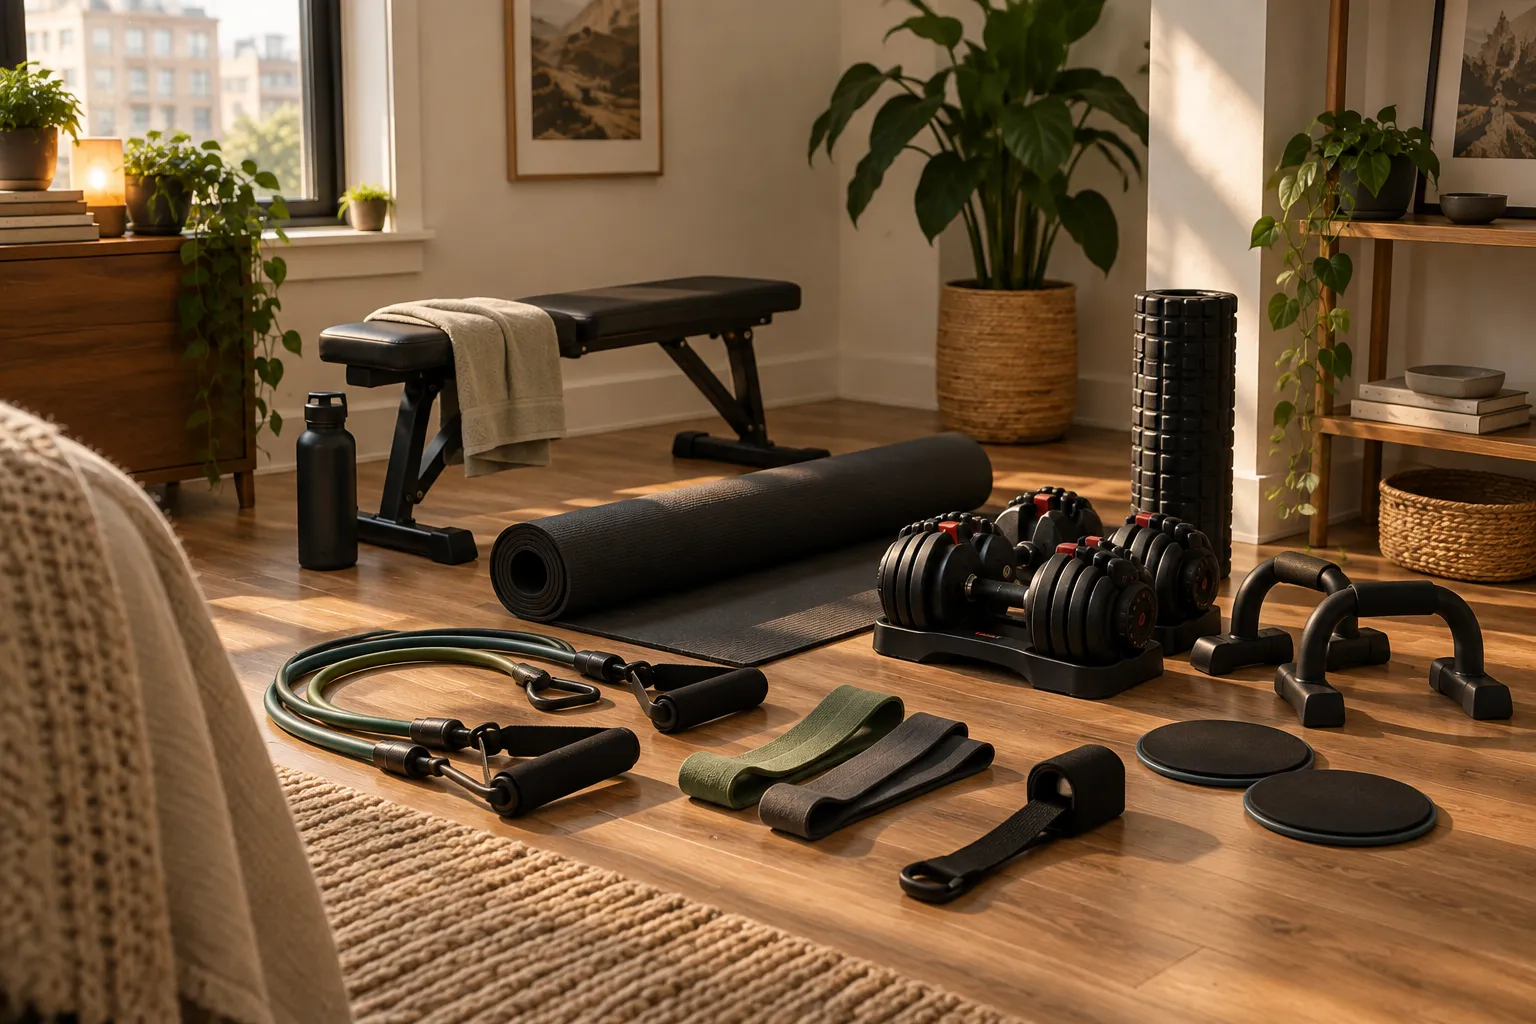
Door-Based Training
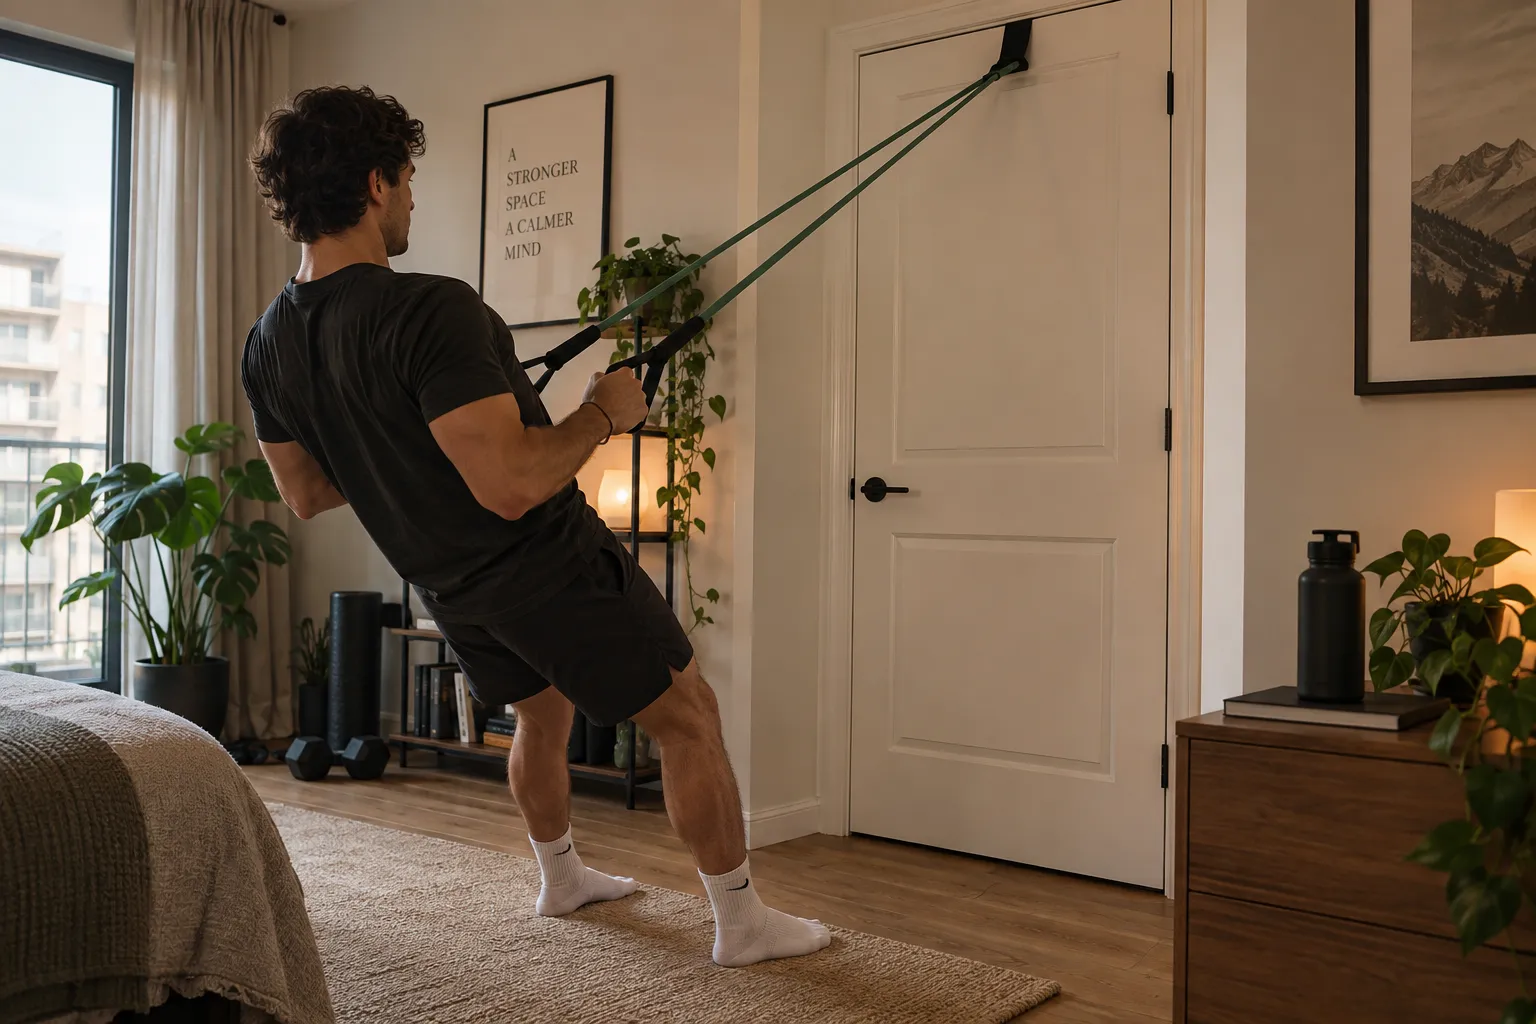
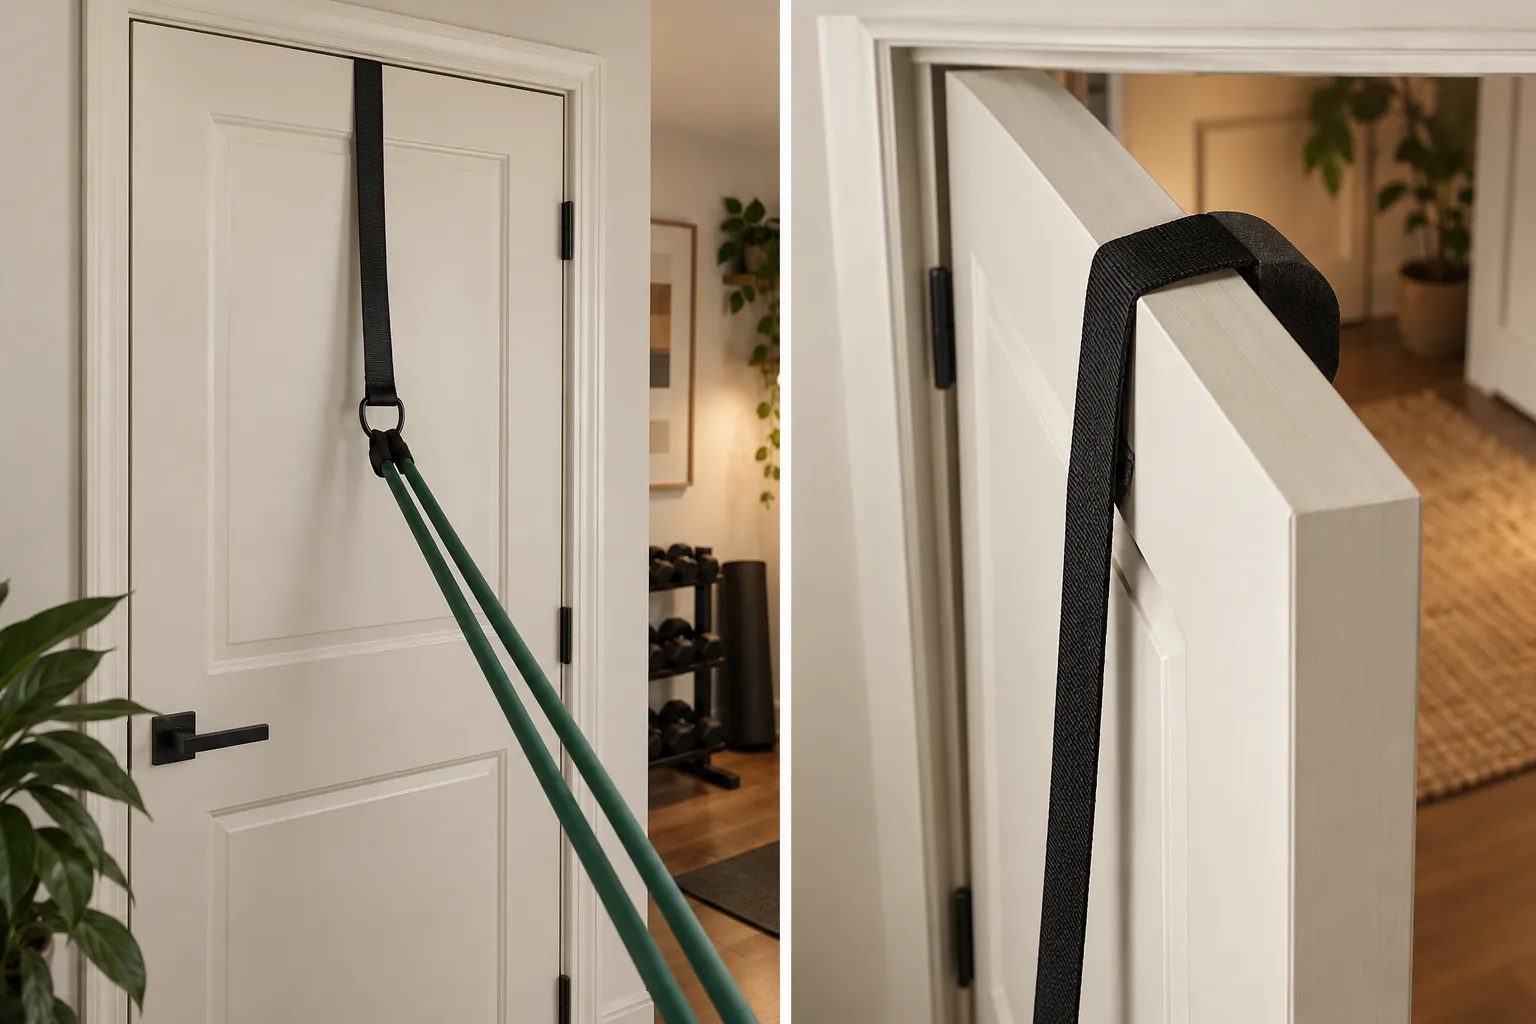
The doorway is the one structural feature in most rentals you can use without modifying it. A door anchor threads a resistance band over the top of a closed door and turns it into a full pulling and pressing station — no permanent mounting, packed away in seconds. It’s the same setup we looked at in Quiet Home Gym Equipment for Upstairs Apartments, there for its silence; here it earns its place for leaving nothing behind.
Door-frame pull-up bars belong in this conversation too, because readers expect them and they genuinely require no drilling. But they come with real caveats, and we won’t pretend otherwise. A pull-up bar loads your full bodyweight — often more, in motion — onto a frame that was built to hang a door, not hold a person. Not every frame is suitable, and there’s no way for a guide to tell you whether yours is. Before trusting one, check the specific frame, read the product’s own instructions and limits, inspect the condition of the woodwork, and consider what your lease says about it. Treat the bar as something to evaluate carefully, not something that’s safe by default.
a door anchor with a wide, padded sleeve that spreads pressure rather than concentrating it, and, for any door-frame bar, clear manufacturer guidance and padded contact points.
door-based training ties you to a sound, well-fitted doorway; a loose or damaged frame rules it out.
Freestanding Equipment
The cleanest answer to "don't touch the wall" is equipment that never asks to. Freestanding gear stays upright on its own — a power tower or squat stand that rests on the floor, adjustable dumbbells, a kettlebell, a weight bench. Nothing mounts, nothing presses against a surface, and the whole setup relocates with you. The trade is footprint. Freestanding frames take real floor space and need a stable, level spot with room to move around them — which loops back to the space question our first guide deals with directly.
a wide, stable base, a weight rating that comfortably clears how you'll load it, and a frame that breaks down or moves without a full disassembly.
these are the largest items here, and a tall freestanding tower needs placing with tipping in mind, especially on uneven floors.
Floor-Supported Alternatives
The lowest-risk option of all touches neither wall nor door. Floor-supported training works from the ground up: a mat, sliders, resistance systems that sit or stand on the floor, and bodyweight movement that needs no equipment at all. Nothing to mount and nothing to lean against. Done with control, this can also be among the quieter, lower-impact routes, which makes it the natural overlap with the upstairs-noise guide.
sliders matched to your flooring type, a dense mat that stays put, and resistance tools stable enough to anchor under your own bodyweight.
progression comes from leverage, tempo, and bodyweight rather than heavy external load, so this route rewards technique over raw numbers.
What We Wouldn't Rely On in a Rental
Being straight about what to avoid is part of the job. A few approaches get sold as renter-friendly and tend to cause more trouble than they’re worth: Adhesive or tension mounts asked to hold heavy or dynamic load — the ones that leave no hole but can pull paint, dent a surface, or fail under a moving weight. Anything marketed as “damage-free” that still relies on constant pressure against a wall to stay up. Door-frame bars pushed past what their instructions allow, or hung on a frame in poor condition. And any semi-permanent mount installed without checking your lease first, on the assumption that “removable” means “allowed” — those aren’t the same thing. None of these are automatically dangerous. They just carry a risk a renter usually shouldn’t take on for a setup meant to be temporary.
Protecting Doors, Walls, and Floors
Not drilling is only half of leaving no trace. Even a clean, no-holes setup can still mark a surface through pressure or contact, so the last step is protecting the points where equipment meets the apartment. A door anchor’s pressure across the top edge of a door is gentler with a cloth or padded buffer between them. A pull-up bar’s contact points sit better with the padding the maker provides, kept clean of grit that can score the frame. Freestanding frames earn their keep on a mat that spreads their load and stops feet from scuffing or denting the floor. And any equipment near a wall wants a hand’s width of clearance so a swinging handle or a shifting frame never taps the paint. None of this is elaborate — it’s the difference between a setup that comes down with less evidence it was ever there and one that leaves a story on the walls.
No-Drill Rules
The equipment gets you most of the way; these habits handle the rest, and none of them cost anything.
Check before you trust: inspect the frame, the surface, the product's own limits, and your lease before putting load on anything — not after.
Protect every contact point: treat padding as part of the setup, not an optional extra.
Place for stability: set freestanding gear where it can't tip and where nothing swings into a wall.
Treat temporary as temporary: anything that isn't bolted down deserves a routine glance for shift, wear, or loosening.
And keep it packable: the whole advantage of a no-drill setup is that it comes apart — gear that stores away is gear you'll actually live with, which is exactly what the next guide in this series is about.
Control the setup. Leave the walls alone.